Is your Ford 8N tractor struggling to start? Tired of unreliable ignition? Upgrading to an electronic ignition system is a worthwhile investment, offering quicker starts, improved performance, and increased reliability. This comprehensive guide will walk you through choosing the right kit, installation, testing, and maintenance, ensuring your Ford 8N runs smoothly for years to come. We'll focus primarily on Pertronix kits due to their popularity and proven track record. For additional parts, check out this helpful resource: Ford 8N parts.
Choosing the Right Electronic Ignition Kit: A Crucial First Step
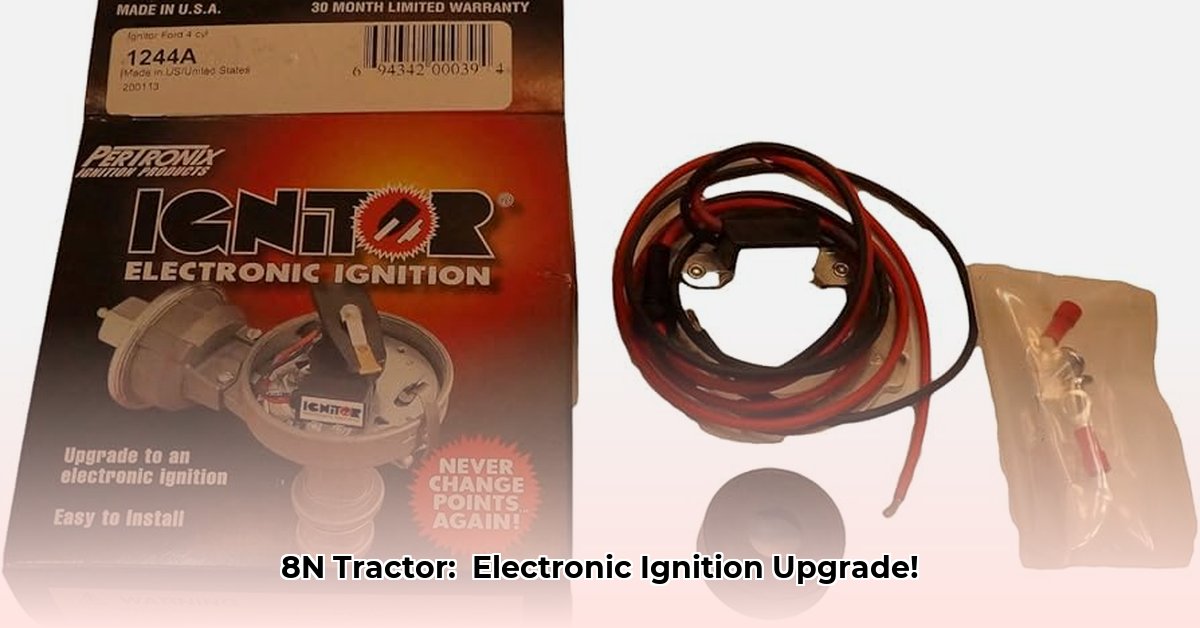
Selecting the correct electronic ignition kit is paramount. The wrong choice can lead to wasted time and money. Your tractor's voltage (6V or 12V) and distributor type (side or front mount) are critical factors. A 6-volt positive-ground system is fundamentally different from a 12-volt negative-ground system. While Pertronix is a popular choice, always verify compatibility before purchasing.
The following table compares common Pertronix kits, highlighting their key features and suitability for different Ford 8N variations:
| Kit Model | Voltage | Distributor Location | Advantages | Disadvantages | Compatibility Notes |
|---|---|---|---|---|---|
| Pertronix I | 6V | Side | Simple installation, generally reliable | May require additional wiring | Ideal for original 6V, side-mount distributor systems |
| Pertronix II | 12V | Side | Stronger spark, easier starting | Higher cost than 6V version | Suitable for 12V upgrades, side-mount distributors |
| Pertronix III | 6V | Front | Designed for front-mounted distributors | May require minor distributor adjustments | Verify compatibility with your specific tractor model |
| Pertronix IV | 12V | Front | Best performance in 12V systems | More complex installation | Requires precise alignment, check for specific fit |
Before purchasing, confirm your tractor's voltage and distributor type. A repair manual or a detailed inspection of your tractor's components are invaluable resources. Incorrect selection can lead to installation failure.
Tools and Materials: Preparing for the Upgrade
Before you begin, gather the necessary tools and materials. This ensures a smooth and efficient installation process.
- Chosen electronic ignition kit (from the table above)
- Socket set (metric and standard)
- Screwdrivers (Phillips and flathead)
- Wrench set
- Multimeter (for testing electrical connections)
- Wire strippers/crimpers
- Soldering iron (recommended but not strictly necessary)
- Grease
- New spark plugs (recommended replacement)
- Clean rags
Step-by-Step Installation Guide: A Detailed Walkthrough
Each step should be approached methodically and safely. Remember, electrical work can be dangerous. Consult your chosen kit’s instruction manual for detailed specifics.
Safety First: Disconnect the Battery: Always disconnect the negative battery terminal before starting any electrical work. This is a critical safety precaution.
Removing the Distributor Cap: Carefully remove the distributor cap, noting the rotor's position. A photograph can be helpful.
Removing the Points and Condenser (If Necessary): This step depends on your chosen kit. Follow the kit's instructions precisely.
Installing the Pertronix Module (or Equivalent): Follow the kit instructions meticulously. Ensure clean mounting surfaces before attaching components.
Reassembling the Distributor: Carefully reassemble the distributor cap and rotor, ensuring correct rotor alignment. Precise alignment is crucial for proper ignition timing.
Reconnecting the Battery: Carefully reconnect the negative battery terminal.
Post-Installation Testing and Adjustment: Verifying Functionality
After installation, thorough testing is crucial to ensure everything is working correctly.
Initial Start-Up: Start the tractor and listen for any unusual noises. A smooth, clean start indicates success.
Spark Plug Check: Check for a strong spark at the spark plugs. A weak spark indicates a potential problem—re-check all connections and the secure seating of the module.
Timing Adjustment (If Necessary): Consult your tractor's manual for the proper timing adjustment procedure. Incorrect timing can lead to poor performance.
Addressing potential problems early will save time and frustration.
Maintenance and Troubleshooting: Ensuring Long-Term Reliability
Regular maintenance prevents future issues and ensures the longevity of your new electronic ignition system.
Wiring Inspection: Regularly inspect wiring connections for damage or loose connections. Repair or replace any damaged wires promptly.
Module Inspection: Examine the electronic ignition module for signs of wear and tear. Replace it if necessary.
Troubleshooting: If the tractor fails to start, systematically check the battery, wiring, distributor, and spark plugs. Eliminate potential problems one by one until you find the source of the issue.
Conclusion: Revitalizing Your Ford 8N
Upgrading your Ford 8N tractor to an electronic ignition system brings significant benefits. By following this step-by-step guide and performing regular maintenance, you can ensure your tractor runs reliably for years to come. Remember, patience and attention to detail are key. With a little effort, you'll enjoy the rewards of a more efficient and reliable machine.